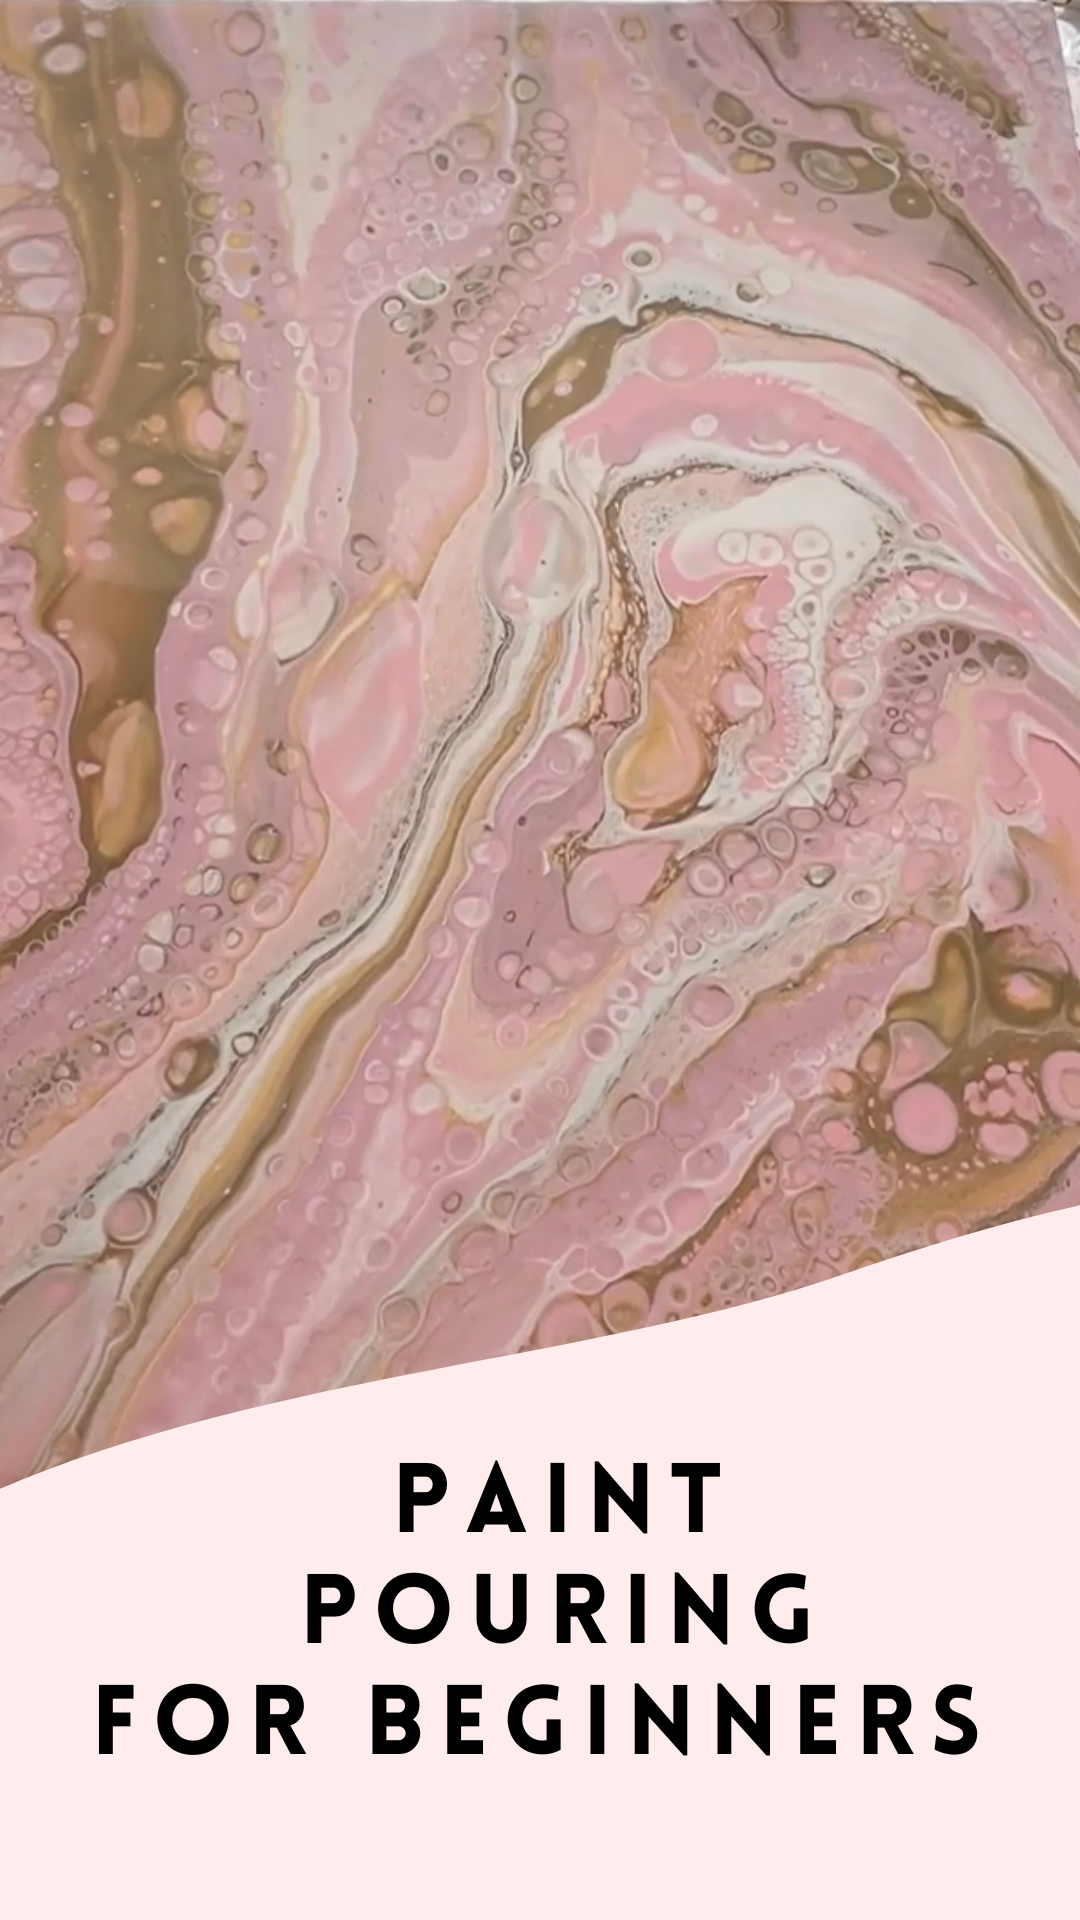
Paint pouring for beginners- dirty pour technique
How to create a basic ‘dirty pour’ paint pour on canvas for beginners!
Materials Needed:
- Canvas (any size)- I personally find that round canvases create a perfect paint composition time and time again!
- Acrylic paint (at least 3-4 colours)
- Pouring medium (many brands are available) - but I personally love Floetrol You can find this medium here
- Alternatively- you can also purchase paints that have already been pre mixed with a pouring medium that are ready to go without adding anything! (This is super handy for kids or beginners but can limit your colour choices).
- Plastic cups
- Stir sticks
- Disposable gloves
- Plastic sheet or drop cloth
- Paper towels or rags
- Optional: silicone oil or heat gun- these tools help create the beautiful cells you often see in these paintings
Step 1: Prepare your workspace
Cover your work surface with a plastic sheet or drop cloth to protect it from any paint spills or drips. Gather all your materials and set them up on your workspace.
Step 2: Mix your paint and pouring medium
In separate cups, mix together your acrylic paint and pouring medium in a 1:1 ratio (equal parts paint and pouring medium). Stir the mixture thoroughly with a stir stick until it's well combined. Repeat this step with each color you plan to use.
Step 3: Pour your paints all into the same cup one at a time in layers. How you do this is up to you. The different way the colours are layered will determine how they come out on your canvas.
Step 4: Let the fun begin!
Pour your cup filled with all the paints directly onto your canvas either by simply tipping it out in the centre or by using circular motions spiralling the paint over your canvas.
Gently tilt the canvas in different directions to allow the paint to flow and create more interesting patterns. Tilt until you're happy with the design and all the edges are covered.


Step 5: Add silicone oil (optional)
If you want to create more cells and texture in your painting, add a drop or two of silicone oil to each color cup and stir well. This will cause the paint to separate and create interesting patterns.
Step 6: Use a torch or heat gun (optional)
If you added silicone oil, use a torch or heat gun to gently heat the surface of the paint. This will cause any bubbles or cells to pop, creating more interesting patterns. Be careful not to overheat the paint, as it can cause it to crack or burn.

Step 7: Let it dry
Once you're happy with the design, let the paint dry completely. This can take anywhere from 24-48 hours depending on the thickness of the paint and the humidity in the room.
Tips and Tricks:
- Choose colors that complement each other and avoid using too many colors in one painting so it doesn’t become too busy.
- Mix your paint and pouring medium thoroughly to avoid clumps and ensure a smooth flow. Sometimes I’ll even use a strainer if my paint has been sitting around for a while and I don’t trust it.
- Elevate your canvas to allow the excess paint to drip off and create more interesting patterns. I prop mine up using cups and then check it’s flat and even using a level.
- Use a palette knife or stir stick to help spread the paint if needed.
- Mix more than you think you’ll need to ensure you can cover up all those corners!
- HAVE FUN!!!
